728x90
1. http 패키지 설치
우선 http패키지를 설치해준다.
pubspec.yaml 파일로 가서 dependency에 http 패키지를 명시해준다
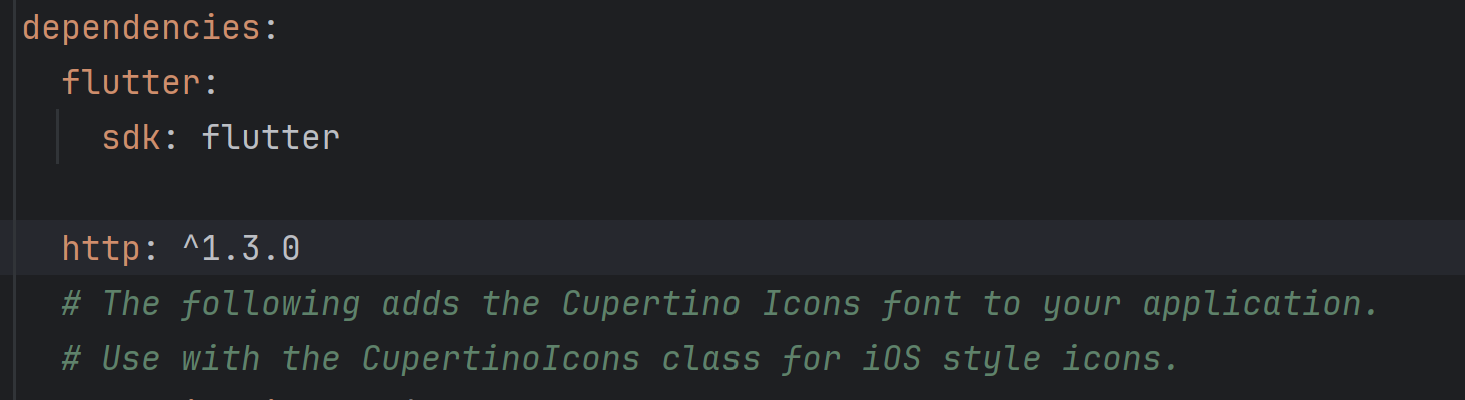
그다음에 오른쪽 상단에 pub get 버튼을 클릭한다 or 터미널에 flutter pub get 명령어를 실행한다
2. http 요청후 reponse 받아보기
패키지를 import 해준다
import 'dart:convert' as convert;
import 'package:http/http.dart' as http;
ip 주소에는 본인이 가상 기기를 사용한다면 10.0.2.2:8000 로 요청을 보내면된다.
만약 usb를 연결해서 물리기기를 사용한다면 본인 컴퓨터의 ip 주소를 직접 적어 넣으면 된다. (cmd 창에서 ipconfig)
뒤에는 요청을 보낼 url 주소를 적는다
예시) Uri.http('10.0.2.2.:8000', '/hello_world')
class _MyHomePageState extends State<MyHomePage> {
  String _message = "EMPTY";

  void _sendRequest() async {

    var url = Uri.http('ip주소:포트번호', '요청url');

    // Await the http get response, then decode the json-formatted response.
    var response = await http.get(url);
    if (response.statusCode == 200) {
      var jsonResponse = convert.jsonDecode(response.body) as Map<String, dynamic>;
      _message = jsonResponse['message'];
    } else {
      print('Request failed with status: ${response.statusCode}.');
    }


    setState(() {
    });
  }
djagno 프로젝트 폴더로 돌아가 settings 에서 ALLOWED_HOSTS = ['*'] , 요청 아이피 허용
그다음 python manage.py runserver 0.0.0.0:8000 로 실행 후 앱에서 요청을 보내면 된다
# settings

ALLOWED_HOSTS = ['*']

# views.py

from rest_framework.decorators import api_view

@api_view()
def hello_world(request):
    return Response({"message":"Hello World"})
main.dart 전체코드
import 'package:flutter/material.dart';
import 'dart:convert' as convert;
import 'package:http/http.dart' as http;

void main() {
  runApp(const MyApp());
}

class MyApp extends StatelessWidget {
  const MyApp({super.key});

  // This widget is the root of your application.
  @override
  Widget build(BuildContext context) {
    return MaterialApp(
      title: 'Flutter Demo',
      theme: ThemeData(
        colorScheme: ColorScheme.fromSeed(seedColor: Colors.deepPurple),
      ),
      home: const MyHomePage(title: 'My First App'),
    );
  }
}

class MyHomePage extends StatefulWidget {
  const MyHomePage({super.key, required this.title});


  final String title;

  @override
  State<MyHomePage> createState() => _MyHomePageState();
}

class _MyHomePageState extends State<MyHomePage> {
  String _message = "EMPTY";

  void _sendRequest() async {

    var url = Uri.http('ip주소/포트번호', '요청url');

    // Await the http get response, then decode the json-formatted response.
    var response = await http.get(url);
    if (response.statusCode == 200) {
      var jsonResponse = convert.jsonDecode(response.body) as Map<String, dynamic>;
      _message = jsonResponse['message'];
    } else {
      print('Request failed with status: ${response.statusCode}.');
    }


    setState(() {
    });
  }

  @override
  Widget build(BuildContext context) {
    return Scaffold(
      appBar: AppBar(
        backgroundColor: Theme.of(context).colorScheme.inversePrimary,
        title: Text(widget.title),
      ),
      body: Center(
        child: Column(
          mainAxisAlignment: MainAxisAlignment.center,
          children: <Widget>[
            const Text('The message is :'),
            Text(
              '$_message',
              style: Theme.of(context).textTheme.headlineMedium,
            ),
          ],
        ),
      ),
      floatingActionButton: FloatingActionButton(
        onPressed: _sendRequest,
        tooltip: 'send request',
        child: const Icon(Icons.add),
      ), // This trailing comma makes auto-formatting nicer for build methods.
    );
  }
}
728x90
'Project' 카테고리의 다른 글
| [Django] dj_rest_auth 와 allauth로 유저 api 구현하기 (0) | 2025.11.09 |
|---|---|
| [Django] json-log-formatter 한글 깨짐 인코딩문제 (0) | 2025.10.13 |
| [Django] JWT 토큰 저장은 헤더? 쿠키? (0) | 2025.10.07 |
| Django 개발 환경 초기 세팅 (0) | 2025.09.22 |